SwiftUI I - Selectable List
SwiftUI is next sliced bread, and it's pretty easy to see why it's so easy to love. In this example we are going to see how a simple operation of selecting an item can be done using the list.
Primer: What's a List, and where is my UITableView
That's right, SwiftUI is a completely distinct set of controls, however most of them will have some analogue with UIKit. The List view is one such example, whose closest match is UITableView, at the time of writing there's no UICollectionView counterpart as List only shows in rows; but let's not despair, we can achieve a lot with it.
Fruity beginnings
Who doesn't love fruit, let's make an app with SwiftUI that lets users pick a single piece of fruit for free. There is no default selection so a nil selection state is possible on first view.
Let's construct a model to hold our Fruit values:
struct FruitModel: Equatable, Hashable {
    var name: String
    var color: String
}
Now let's also create a cell for the fruit display. Here's the tricky bit about SwiftUI.List vs UIKit.UITableViewCell:
There's not actually a concept of cells, the items are ultimately rendered and displayed using UITableView, but structurally in SwiftUI we just create child elements in the List.
What does this means? Ultimately anything that confirms to View can be a list item, this will seem rather strange at first, but stick with me here... It'll pay off.
First we need to define our own protocol called ViewProtocol, this is to help keep things generic and re-usable, here's the definition of this protocol:
protocol ViewProtocol {
    associatedtype Model: Equatable
    var model: Model { get }
}
All it really means is that we have something that has an associated type and a model of that type, this will let us use it as a constraint later.
With that out of the way we can define a view that acts as the cell:
struct FruitCell: View, ViewProtocol {
var model: FruitModel
var body: some View {
VStack(alignment: .leading) {
Text(model.name).fontWeight(.medium).scaledToFill()
Text(model.color).italic().scaledToFill()
}
}
}
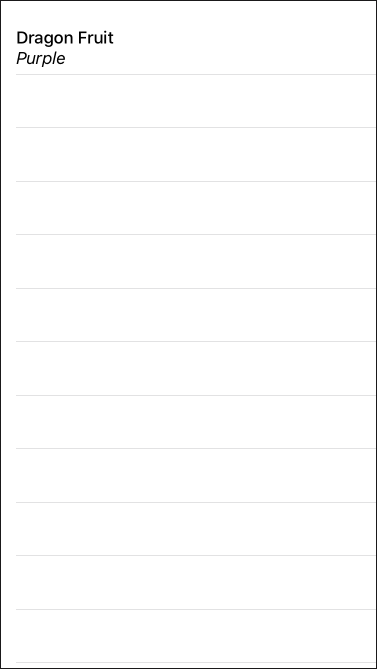
// Now let's add a preview for the FruitCell
struct FruitCell_Previews: PreviewProvider {
static var previews: some View {
List {
FruitCell(model: FruitModel(name: "Dragon Fruit", color: "Purple"))
}
}
}
Here's how the preview looks:
...
Where's my UIAccessoryView or selection state
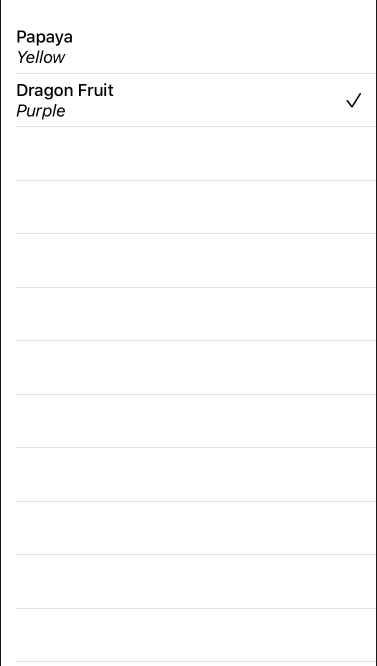
Well there IS a selection style if you're using edit mode for List, but this implies all the other normal operations like re-order and delete that we don't really want here so it's not what we are looking for, but we can roll our own as below. As mentioned, there's no special element called cell in SwiftUI, so we just need to decorate the view, as a preview it looks like this (using SF Symbols for the check-mark):
struct FruitCell_Previews: PreviewProvider {
    static var previews: some View {
        List {
            FruitCell(model: FruitModel(name: "Papaya", color: "Yellow"))
            HStack {
                FruitCell(model: FruitModel(name: "Dragon Fruit", color: "Purple"))
                Spacer()
                Image(systemName: "checkmark")
            }
        }
    }
}
This is how the preview looks.
So it works, what else
Now that the right decoration is applied, we can draw it as selected, but I imagine you are wondering just how to structure that. You are probably thinking, we could add a selected property to the model and use a condition view generation in SwiftUI something like:
if model.selected {
    Image(systemName: "checkmark")
}
Whilst that is functional, I can imagine it is already evident that it'll be a lot of maintenance:
- Adding the selected state to all models that we wish to have selection on
- Cleaning up the old selection state on change of selection
You would be right to think the above, luckily we can incorporate some re-usability to make this both more elegant and flexible, as presumably there are other things down the track that might like selection too. Rather than add to the actual model itself which is not ideal, we are going to treat the model itself as a comparable object (that means we can store it as a state). Here is a class to do just that which we are going to call SelectableWrapperCell:
struct SelectableWrapperCell<Wrapped: View & ViewProtocol>: View {
    @Binding var selected: Wrapped.Model?
    var wrapped: Wrapped
    var body: some View {
        return HStack {
            wrapped
            Spacer()
            if selected == wrapped.model {
                Image(systemName: "checkmark")
            }
        }
        .contentShape(Rectangle())  // Important for [max] area to tap
        .onTapGesture {
            self.selected = self.wrapped.model
        }
    }
}
That ViewProtocol we defined earlier is really paying off now as we can be oblivious to what the view or model are, just so long as the view provides the type Wrapped.Model and the value in wrapped.model.
Another thing to notice here is that we have some code in onTapGesture which operates with the selected binding, this is given to is - most likely by the owner of the List. When a selection is made we assign selected, and this has the extra benefit that it's updated all at once, so a previously selected cell will reflect the update immediately.
Bonus round
Another menu item
So I promised to explain why adding a protocol with an associated type and using a generic for the helper were worth doing. Let's imagine that we don't just want to offer free fruit, but maybe we also have sandwiches available for purchase, there will be a price and ingredients list so the model and cell will be different to fruit, but want want selection logic for free; so let's see how that looks.
First we need a model:
struct SandwichModel: Equatable, Hashable {
    var name: String
    var ingredients: [String]
    var price: Float
}

extension SandwichModel {
    var formattedPrice: String {
        return String(format: "$%0.2f", price)
    }
}
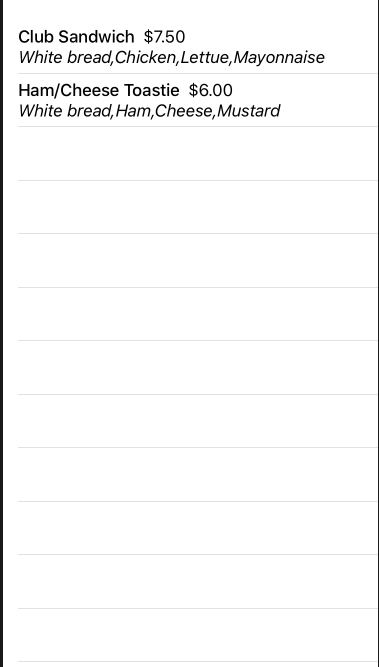
Then we need the actual SwiftUI class for our list cell:
struct SandwichCell: View, ViewProtocol {
    var model: SandwichModel
    var body: some View {
        VStack(alignment: .leading) {
            HStack {
                Text(model.name).fontWeight(.medium)
                Text(model.formattedPrice)
            }
            Text(model.ingredients.joined(separator: ",")).italic()
        }
    }
}

struct SandwichCell_Previews: PreviewProvider {
    static var previews: some View {
        let models = [
            SandwichModel(name: "Club Sandwich",
                        ingredients: ["White bread", "Chicken", "Lettuce", "Mayonnaise"],
                        price: 7.50),
            SandwichModel(name: "Ham/Cheese Toastie",
                        ingredients: ["White bread", "Ham", "Cheese", "Mustard"],
                        price: 6.00)]
        return List {
            SandwichCell(model: models[0])
            SandwichCell(model: models[1])
        }
    }
}
Tying it together
Alright, so that's all the boiler plate out of the way. Let's see it all together in our mene view:
Here's the root view with navigation:
struct RootView: View {
    var body: some View {
        NavigationView {
            MenuView()
            .navigationBarTitle(Text("Menu"))
        }
    }
}

struct RootView_Previews: PreviewProvider {
    static var previews: some View {
        RootView()
    }
}
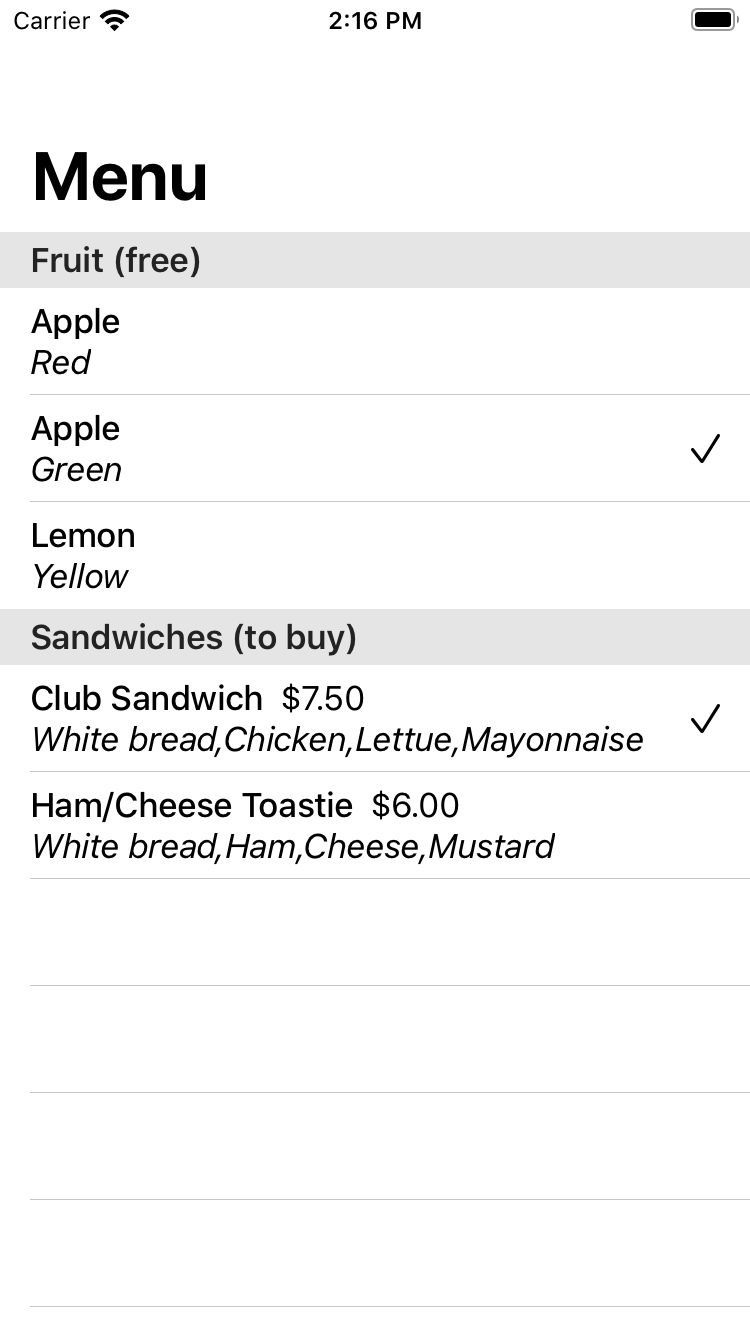
Finally, the magic of menu selection happens here:
struct MenuView: View {
    @State var selectedFruit: FruitModel?
    @State var selectedSandwich: SandwichModel?

    let fruitModels = [FruitModel(name: "Apple", color: "Red"),
                    FruitModel(name: "Apple", color: "Green"),
                    FruitModel(name: "Lemon", color: "Yellow")]
    let sandwichModels = [SandwichModel(name: "Club Sandwich",
                                        ingredients: ["White bread", "Chicken", "Lettuce", "Mayonnaise"],
                                        price: 7.50),
                        SandwichModel(name: "Ham/Cheese Toastie",
                                        ingredients: ["White bread", "Ham", "Cheese", "Mustard"],
                                        price: 6.00)]

    var body: some View {
        return List {
            Section(header: Text("Fruit (free)")) {
                ForEach(fruitModels, id: \.self) { model in
                    SelectableWrapperCell(selected: self.$selectedFruit,
                                        wrapped: FruitCell(model: model))
                }
            }
            Section(header: Text("Sandwiches (to buy)")) {
                ForEach(sandwichModels, id: \.self) { model in
                    SelectableWrapperCell(selected: self.$selectedSandwich,
                                        wrapped: SandwichCell(model: model))
                }
            }
        }
    }
}
After choosing some items, it looks like:
Closing remarks
As mentioned earlier, the fact that cells aren't an actual construct in the SwiftUI structure can be a blessing; since Lists accept any view and wrap them in cells, these plain views that we create are able to be used anywhere - not just in Lists (without doing something questionable like instantiating a UITableViewCell outside of a table hierarchy)